One of the biggest jobs this winter (2018/2019) was to replace all the through-hulls on the boat.
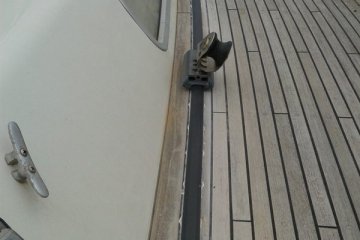
A “through-hull” is a fitting that allows water to pass from the inside to the outside (or vice-versa). It is basically a hole in the boat with a threaded portion inside the boat and a nice, streamlined outlet on the outside.
On the inner part of the through-hull a valve is generally connected to ensure that the hole can be closed as required. Some through-hulls are actually a valve with one part on the outside of the hull, and the other inside.
Why did this need to be done?
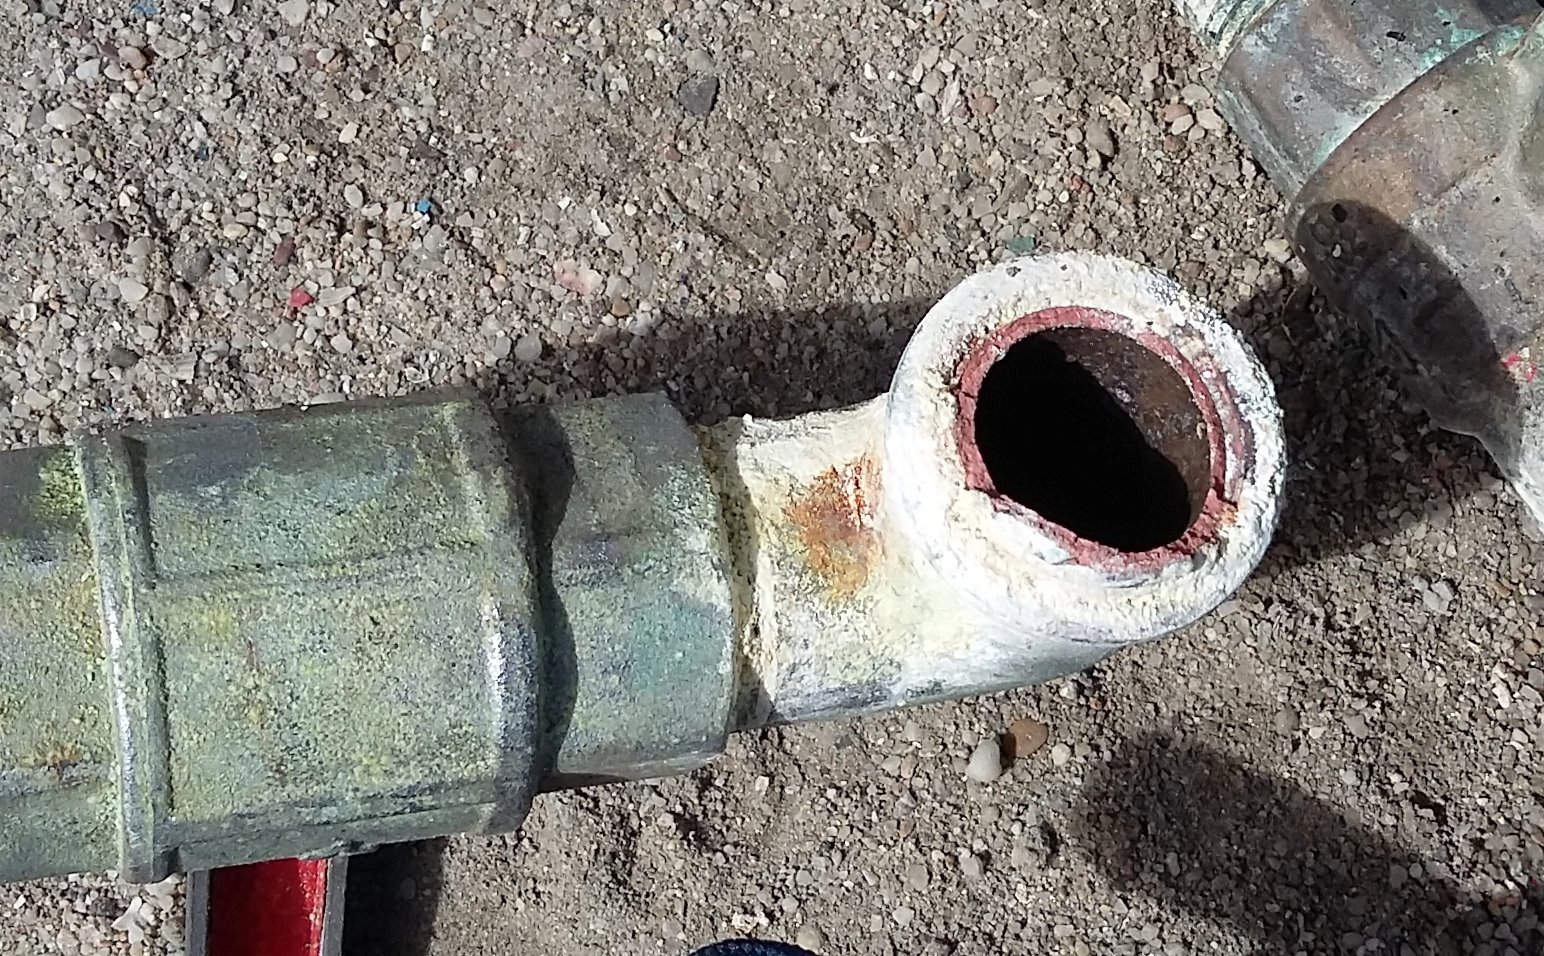
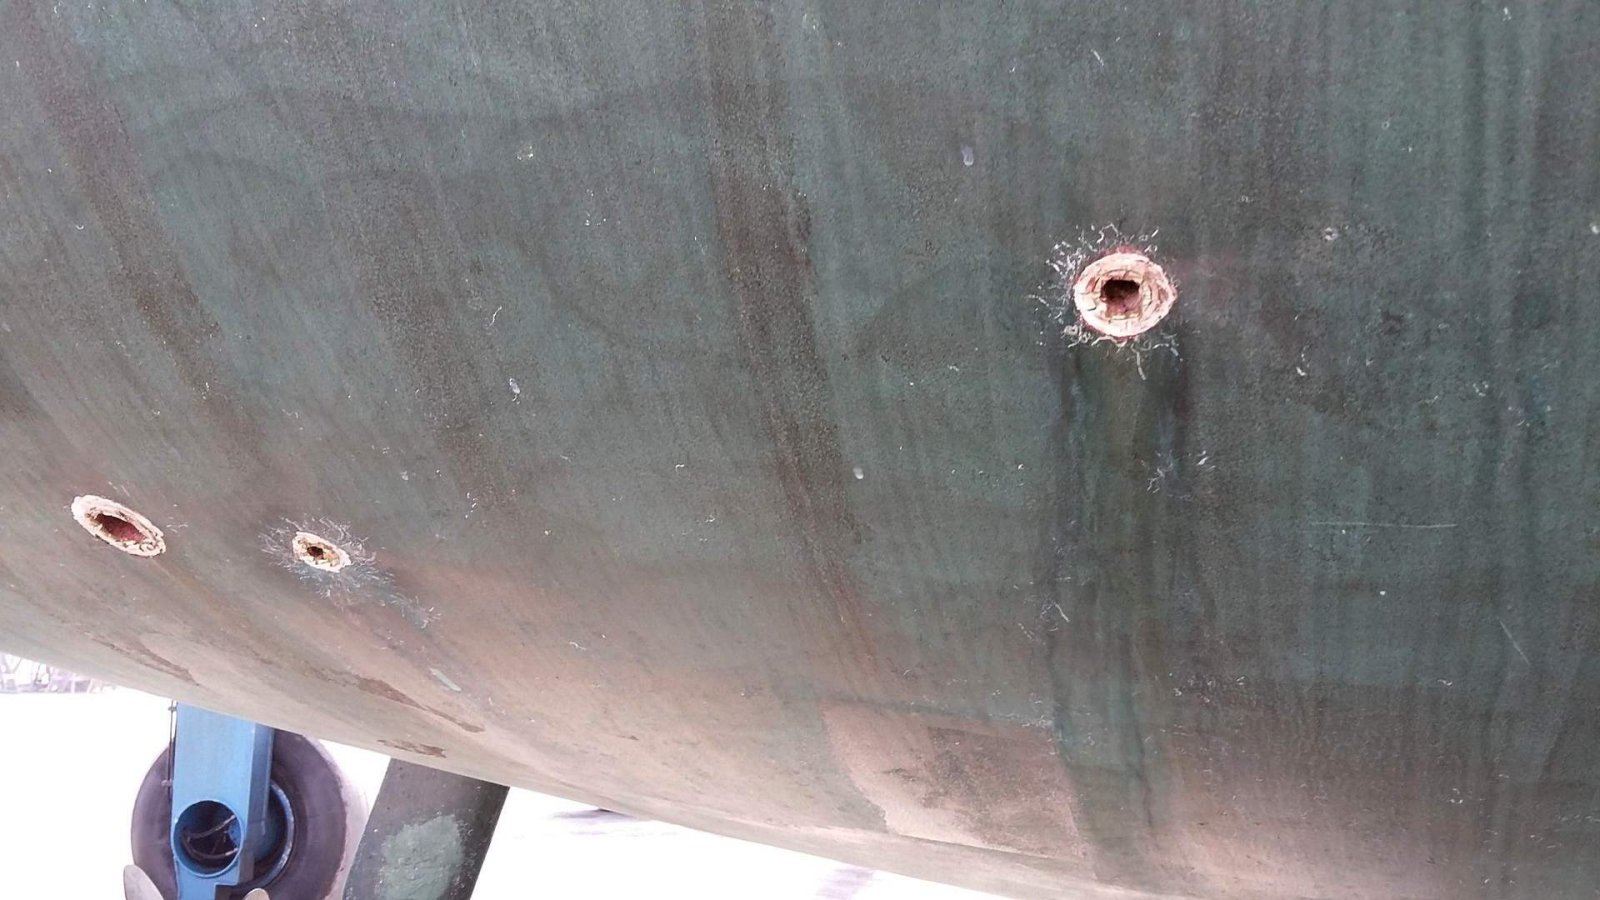
I had noticed that some of the through-hulls were showing signs of “dezincification”. Through-hulls are usually made of an alloy of copper, tin, zinc and a smattering of other metals, also known as bronze. Brass is also an alloy of copper and zinc, but not the other metals. It’s next to useless and in fact dangerous to use in the marine environment.
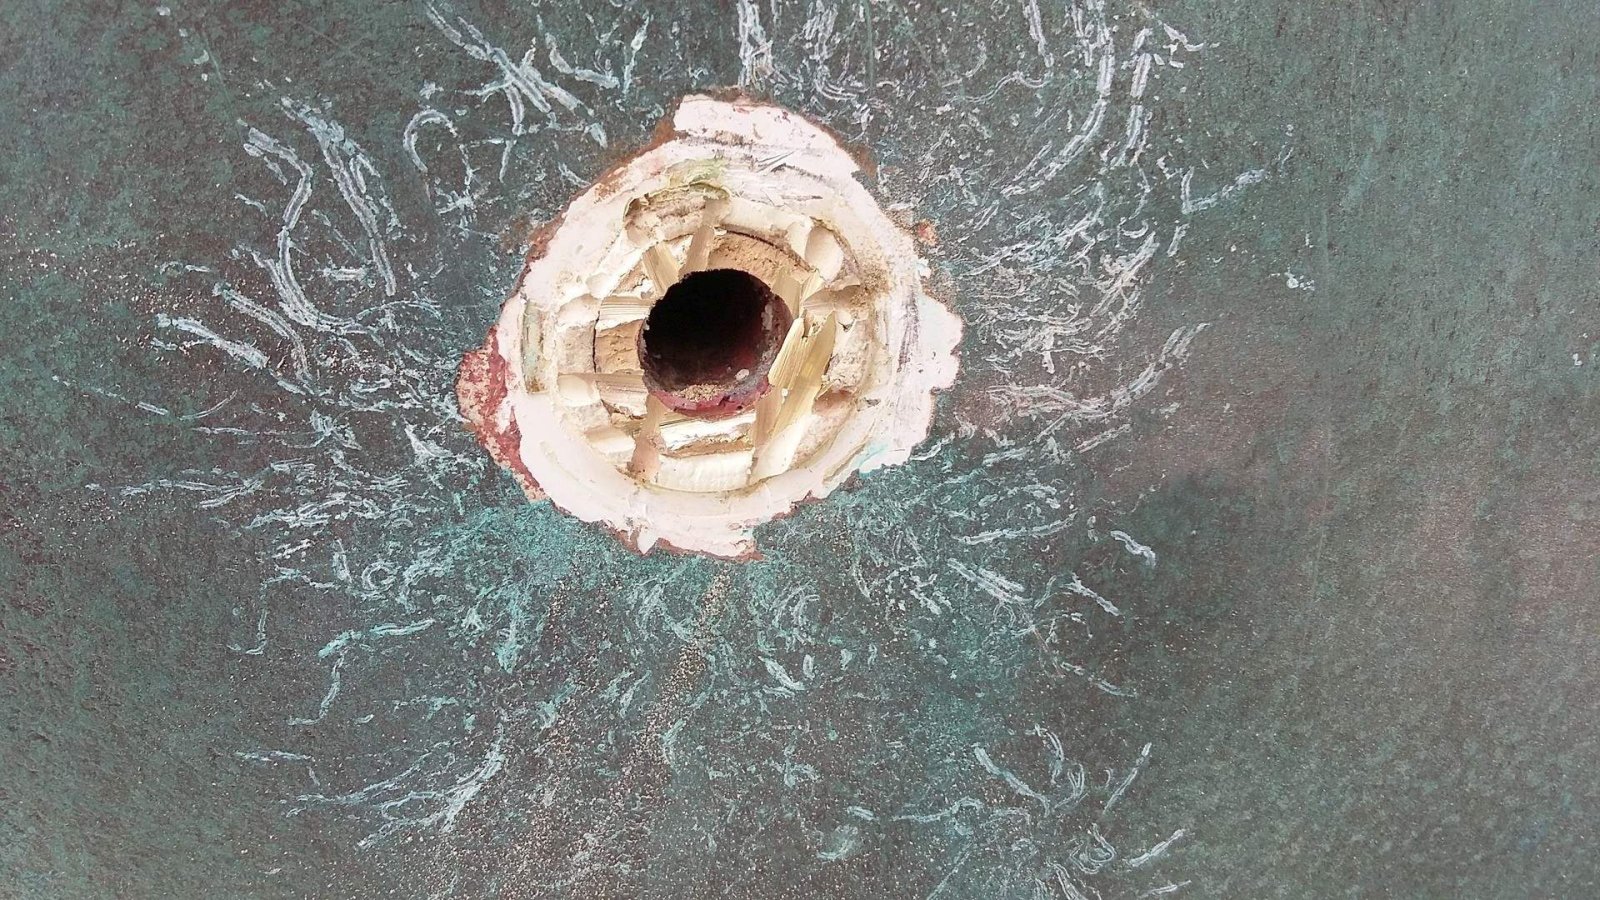
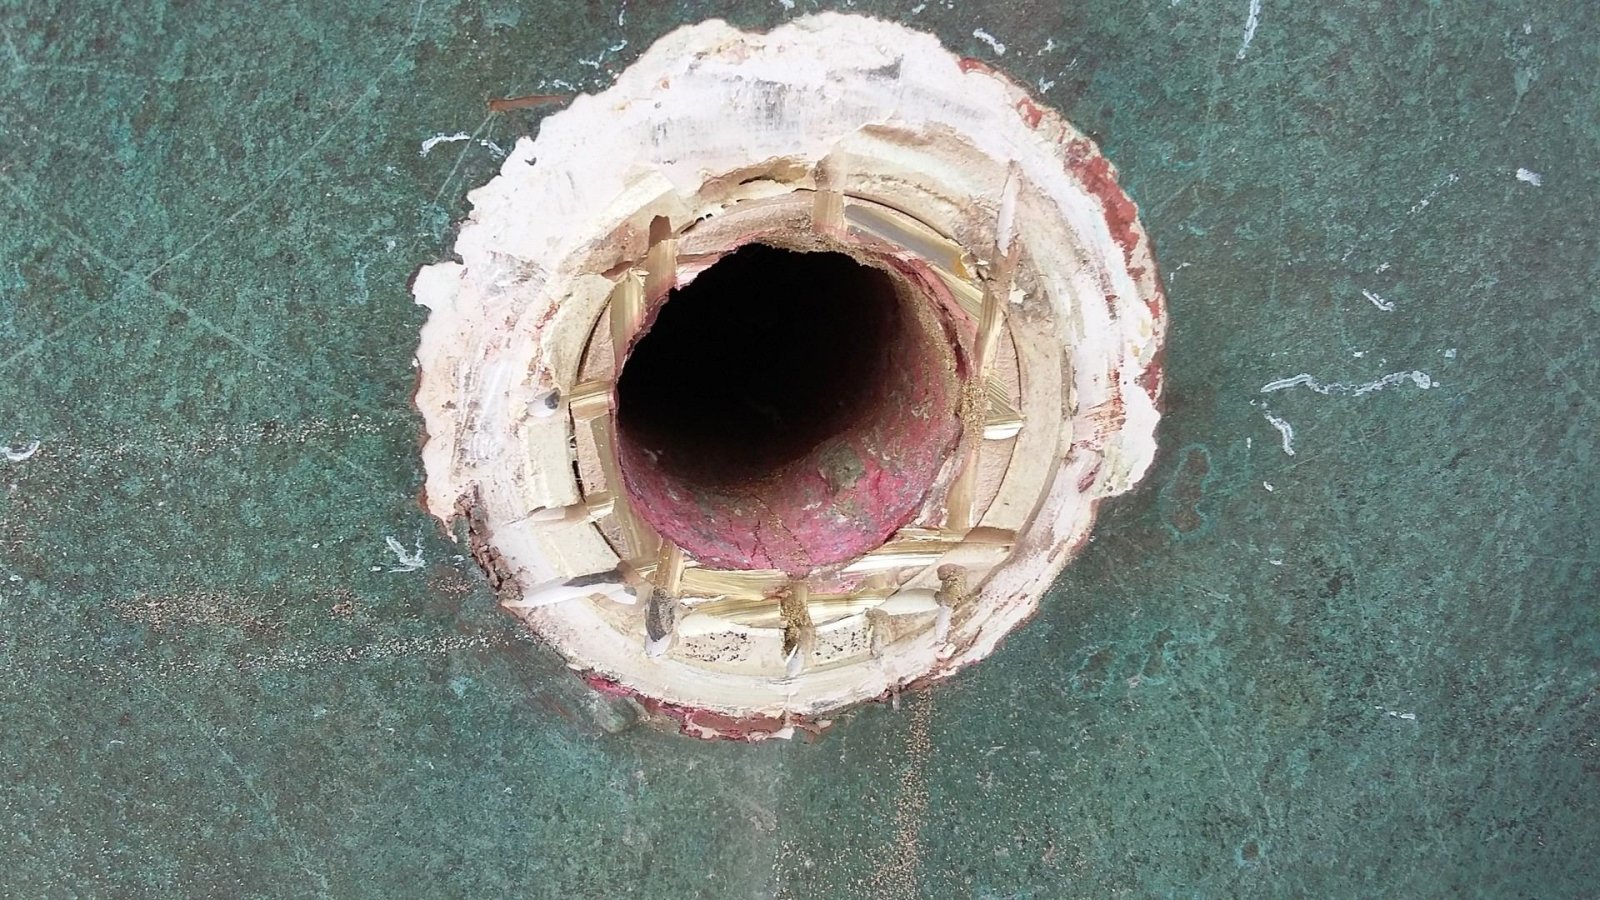
Bronze is used as it is relatively resistant to corrosion in seawater (brass is not!), but due to complex interactions with other metals and stray electrical currents in the water it can and does lose the zinc content. The result is basically a copper alloy that has very little strength; it can sometimes be spotted by the pinkish mottling on the surface of the skin fitting. One of my helpers called it “Pinkification” which is a very apt description for the result of de-zincification.
Because the through-hulls are there to keep the sea out and can be subject to all kinds of twisting forces caused by opening and closing the attached valve (if it even moves), anything that makes them weaker can’t be a good thing.
The ones on “Maya” were original (apart from one changed when the boat was purchased) and it was time to change them – all of them!
Plastic Through-hulls?
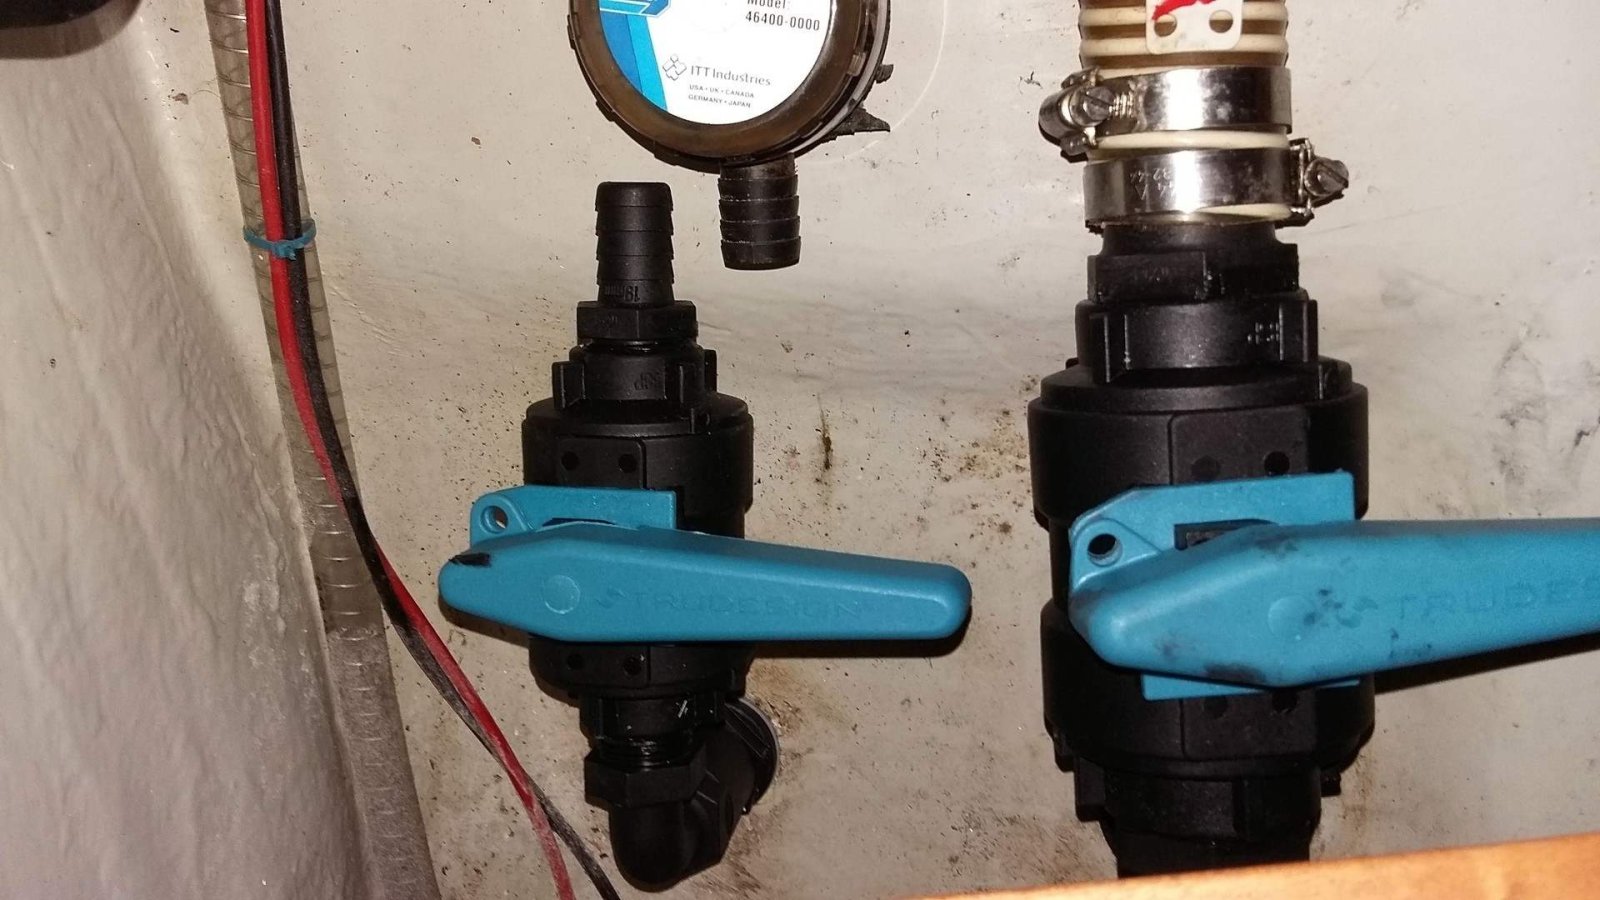
My choice was to use plastic, or more accurately “glass reinforced plastic” fittings as replacements.
These are not as physically strong as the bronze (although they are very strong) but have the huge advantage of being unaffected by seawater, corrosion or electrical currents. The valves are also immune to becoming stuck due to corrosion, although they should be occasionally exercised to check they are OK.
I happened to choose “Trudesign” as I could obtain them easily, but there are a few similar products that are likely to be just as good.
The first job was to identify and measure all the ones that needed replacing, then select the closest equivalent one from Trudesign. It wasn’t always so simple and a few of the through-hulls had to go up a size as Trudesign didn’t make the same size. There were also bronze “sieves” on the outside of some of the water intakes (engine, generator, aircon, etc.) and a plan had to be made of how to deal with those.
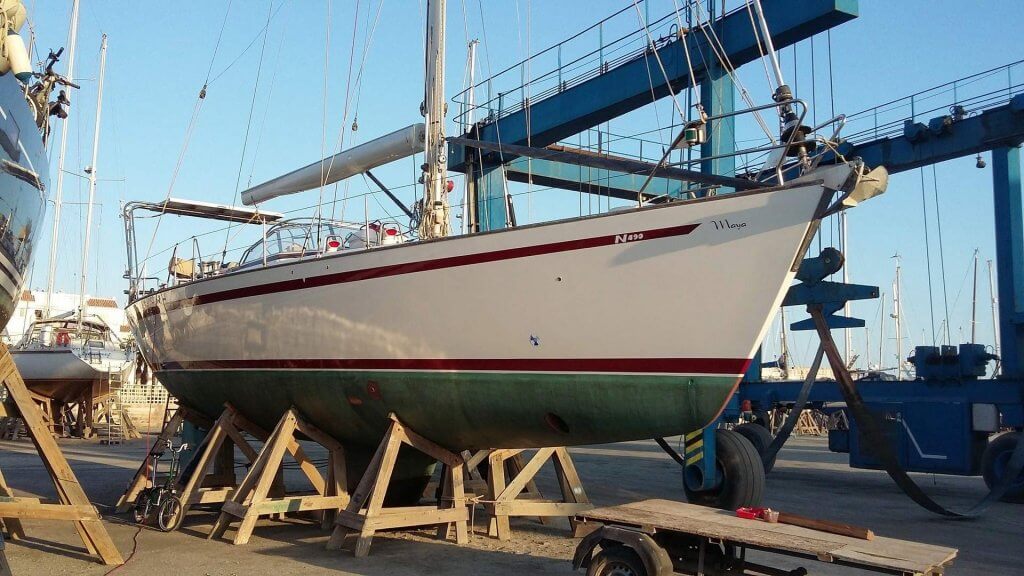
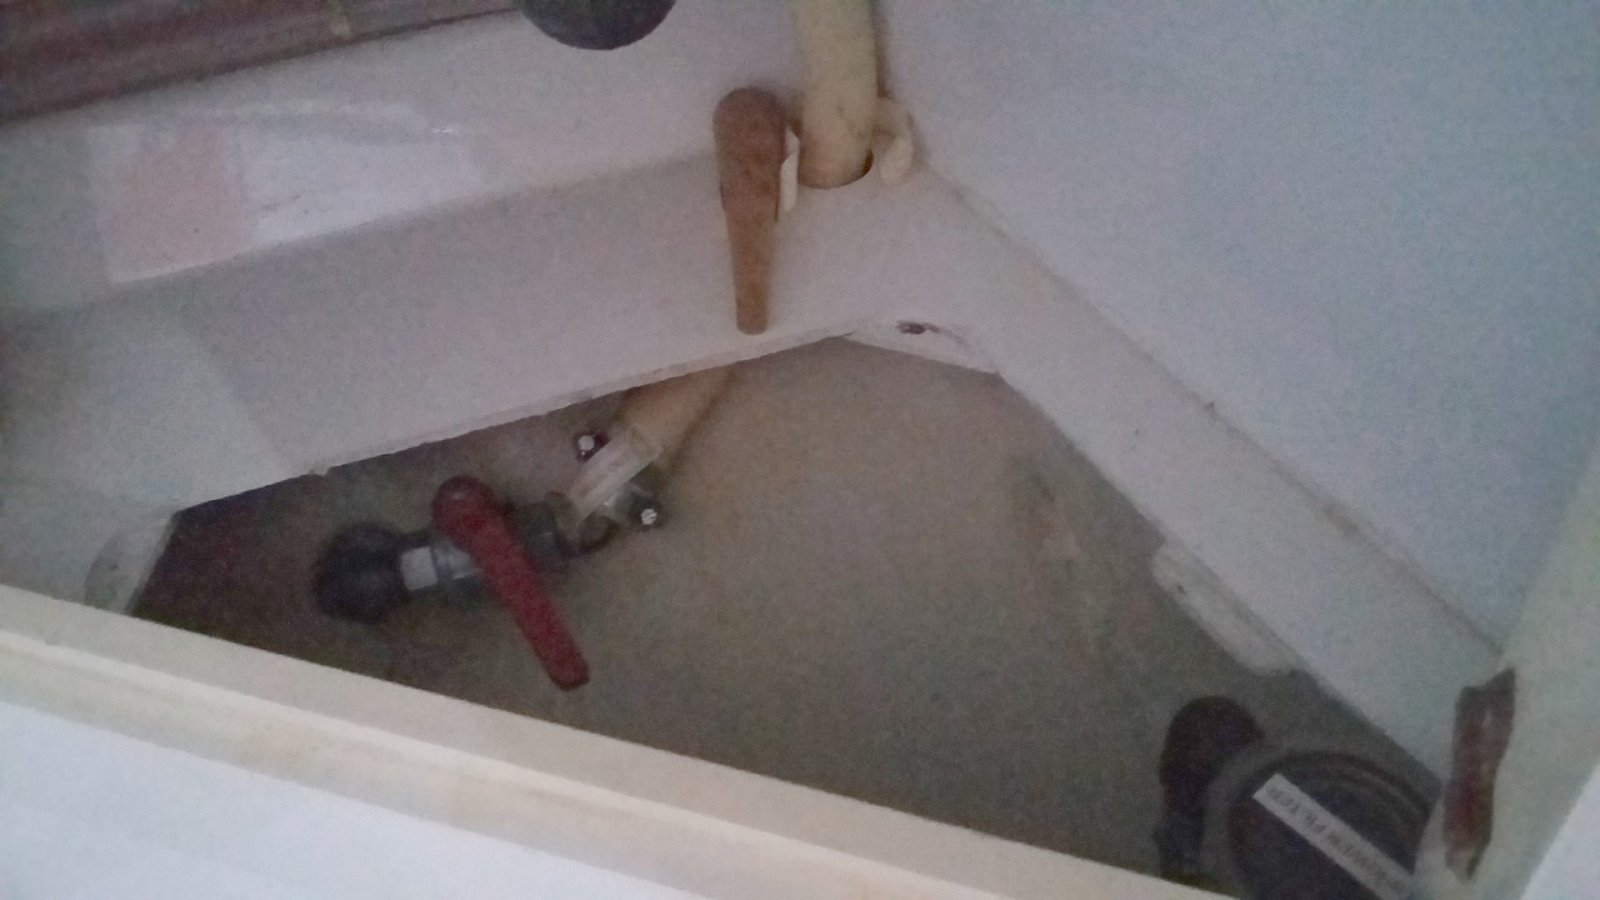
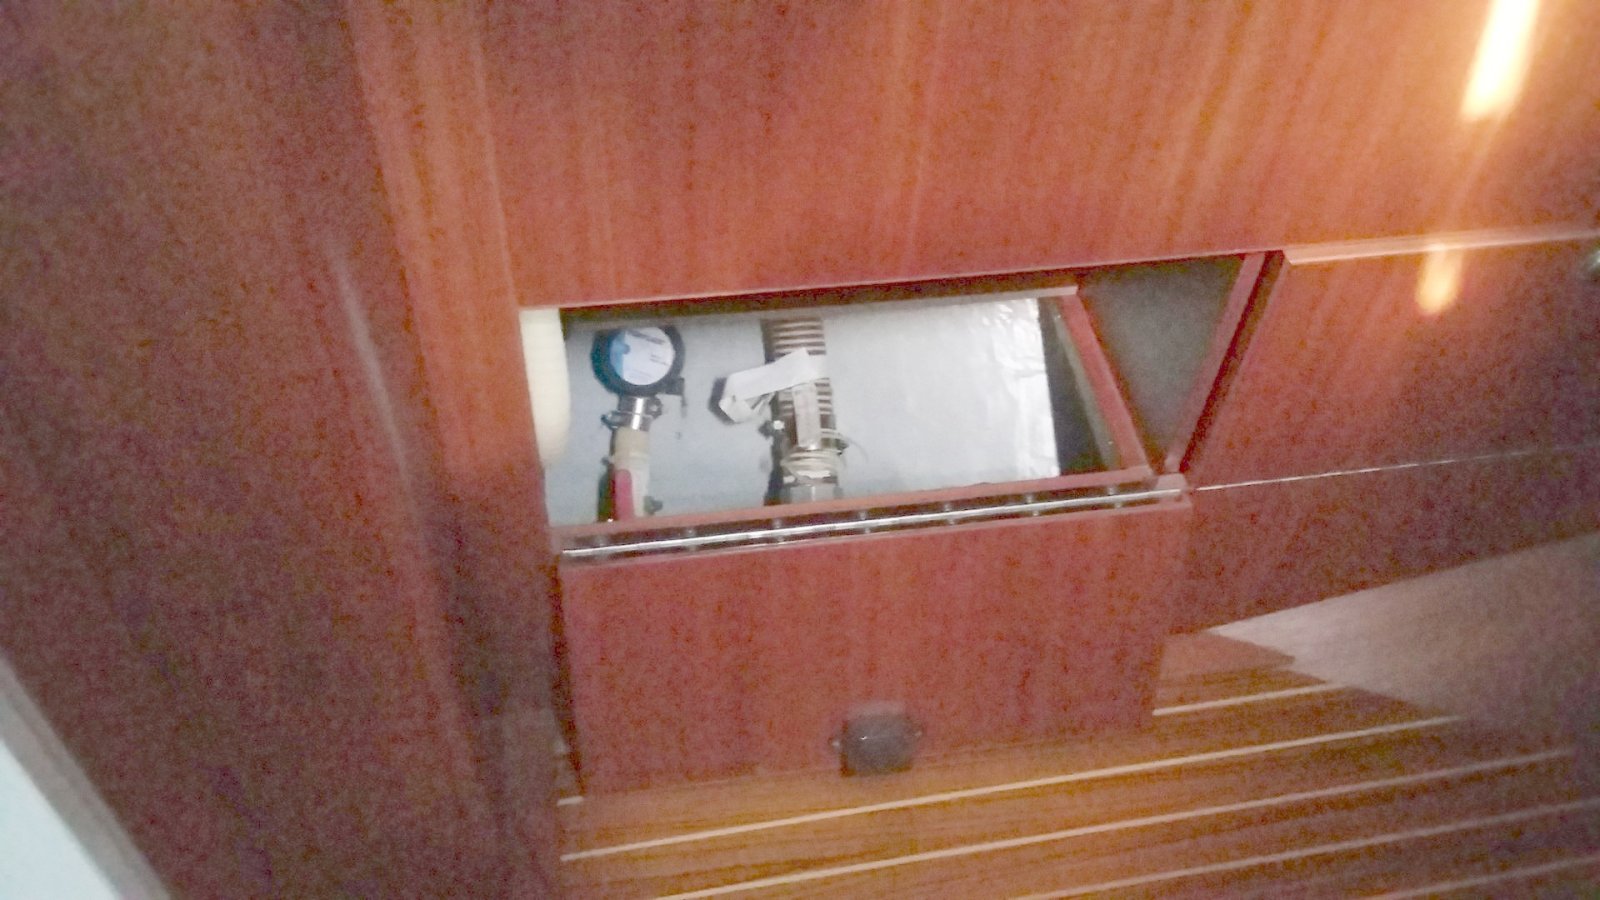
Once the through-hulls (I’m going to call them “thru-hulls” from now on) were selected and purchased we could get on with the job of removing the old ones. It’s better for the boat to be out of the water for this!
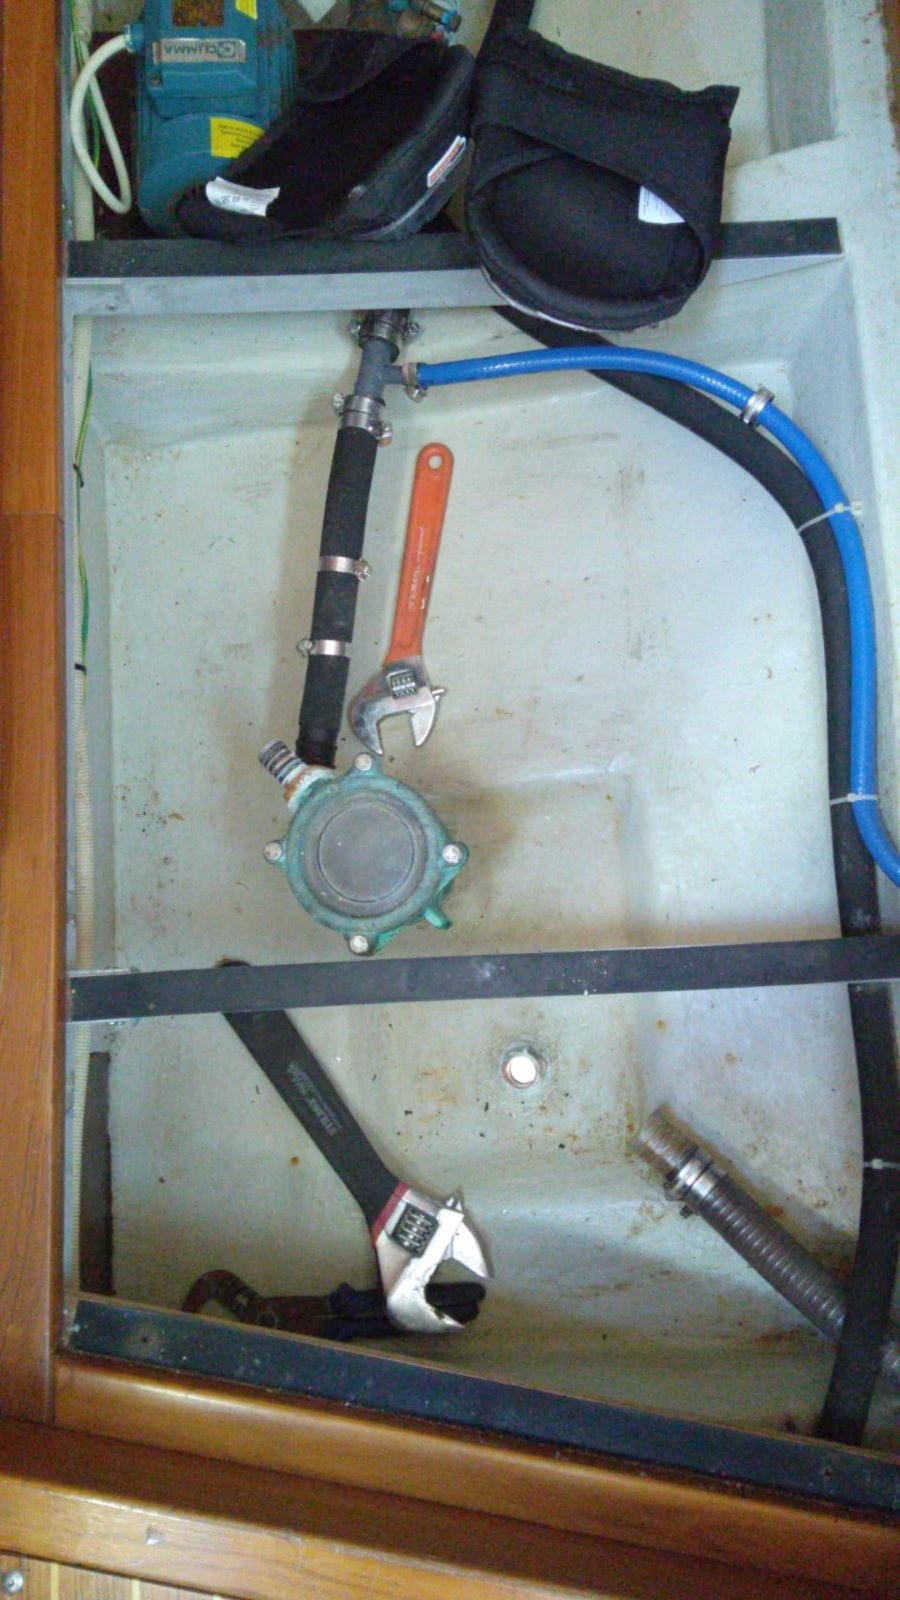
The various connecting pipes were removed internally and a note made of where the pipes had been routed. The camera on a mobile phone is ideal for documenting this. Many of the pipes wouldn’t come off, so we just cut them as the whole thing was being replaced anyway.
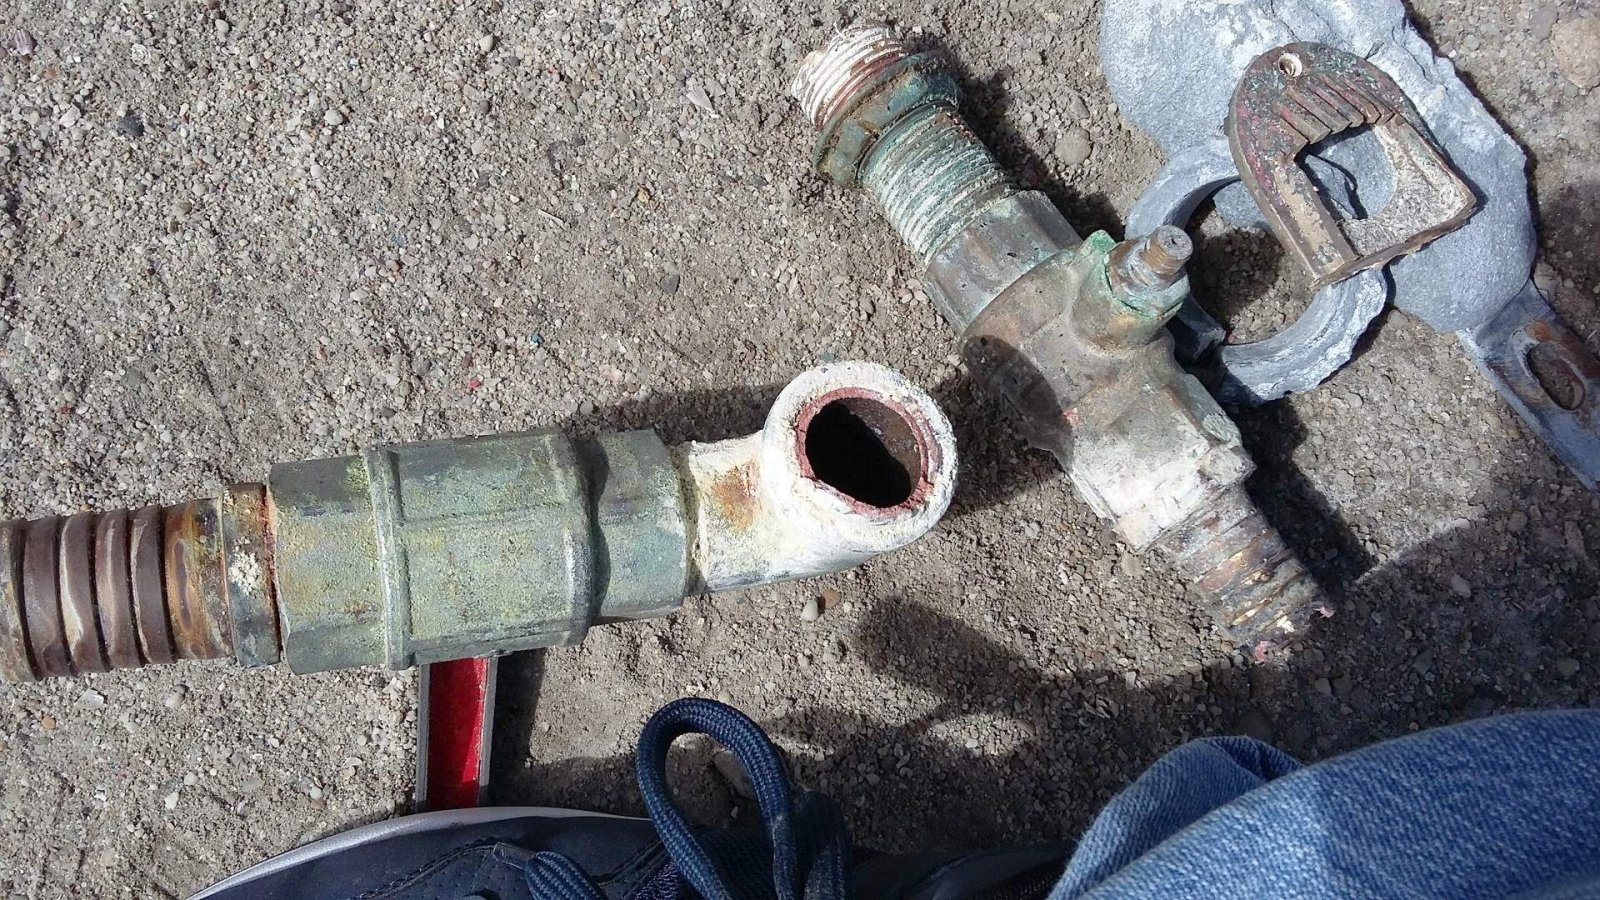
Then came the tricky job of removing the old thru-hulls which are made of bronze. At first we tried to simply undo them but it became quickly apparent that this was not going to work; Many were corroded together and others were pretty much inaccessible for the required large tools. My son wanted to try to get a big one off with an equally big spanner. He put a lot of strength into it and it sheared right off showing the dreaded pinky “de-zinicification” (or “pinkification” as it became known) within. He also sported an impressive bruise afterwards. Boys will be boys…
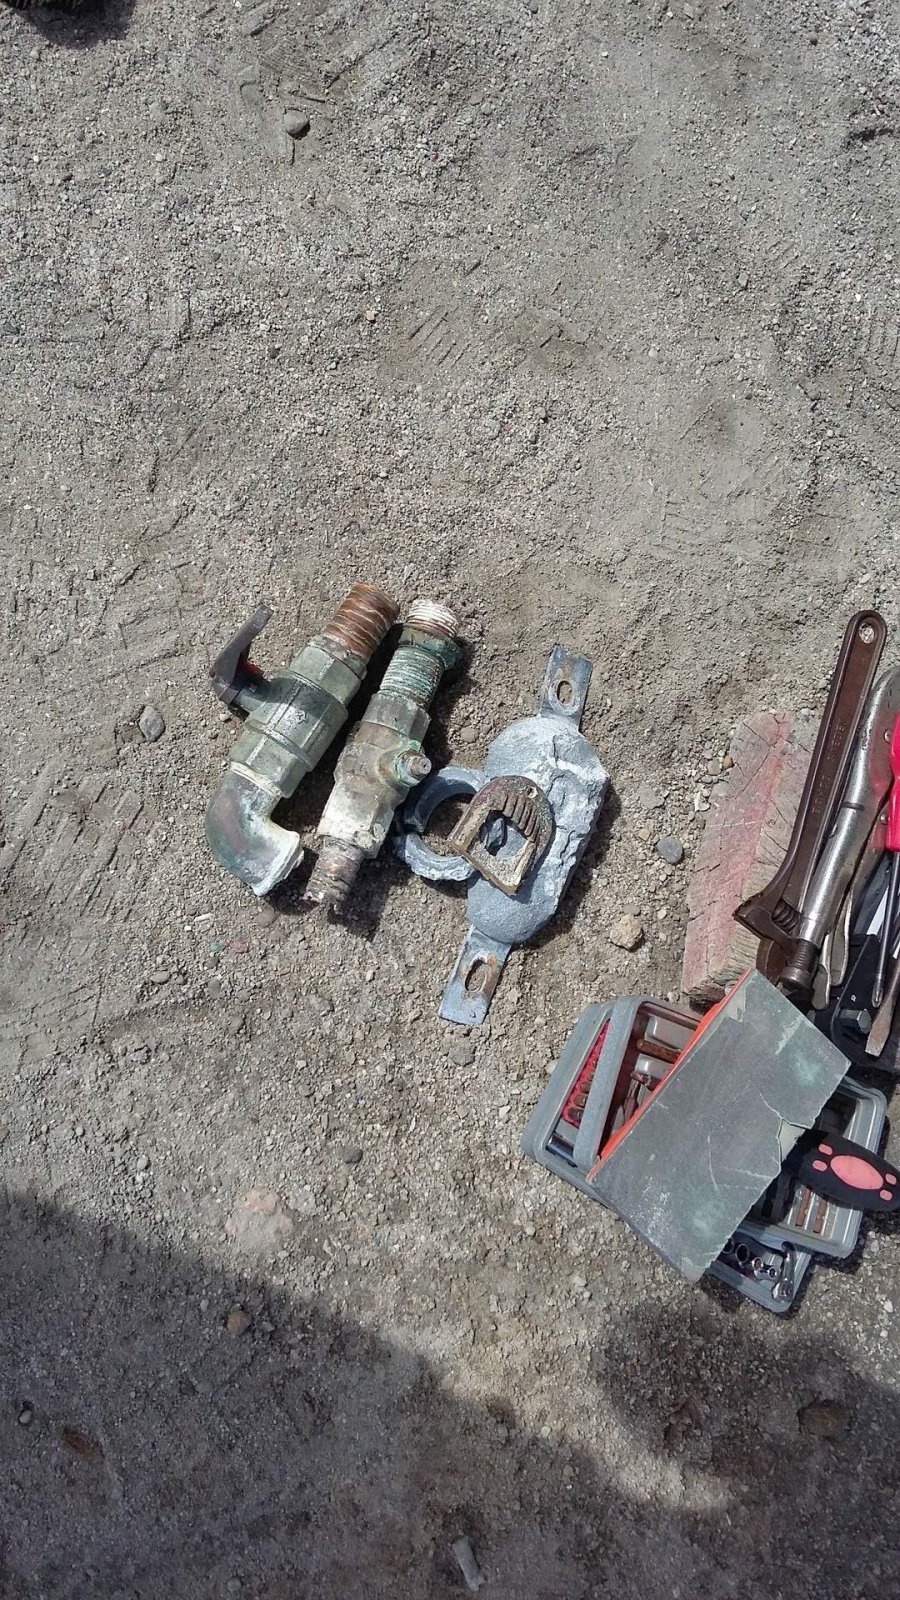
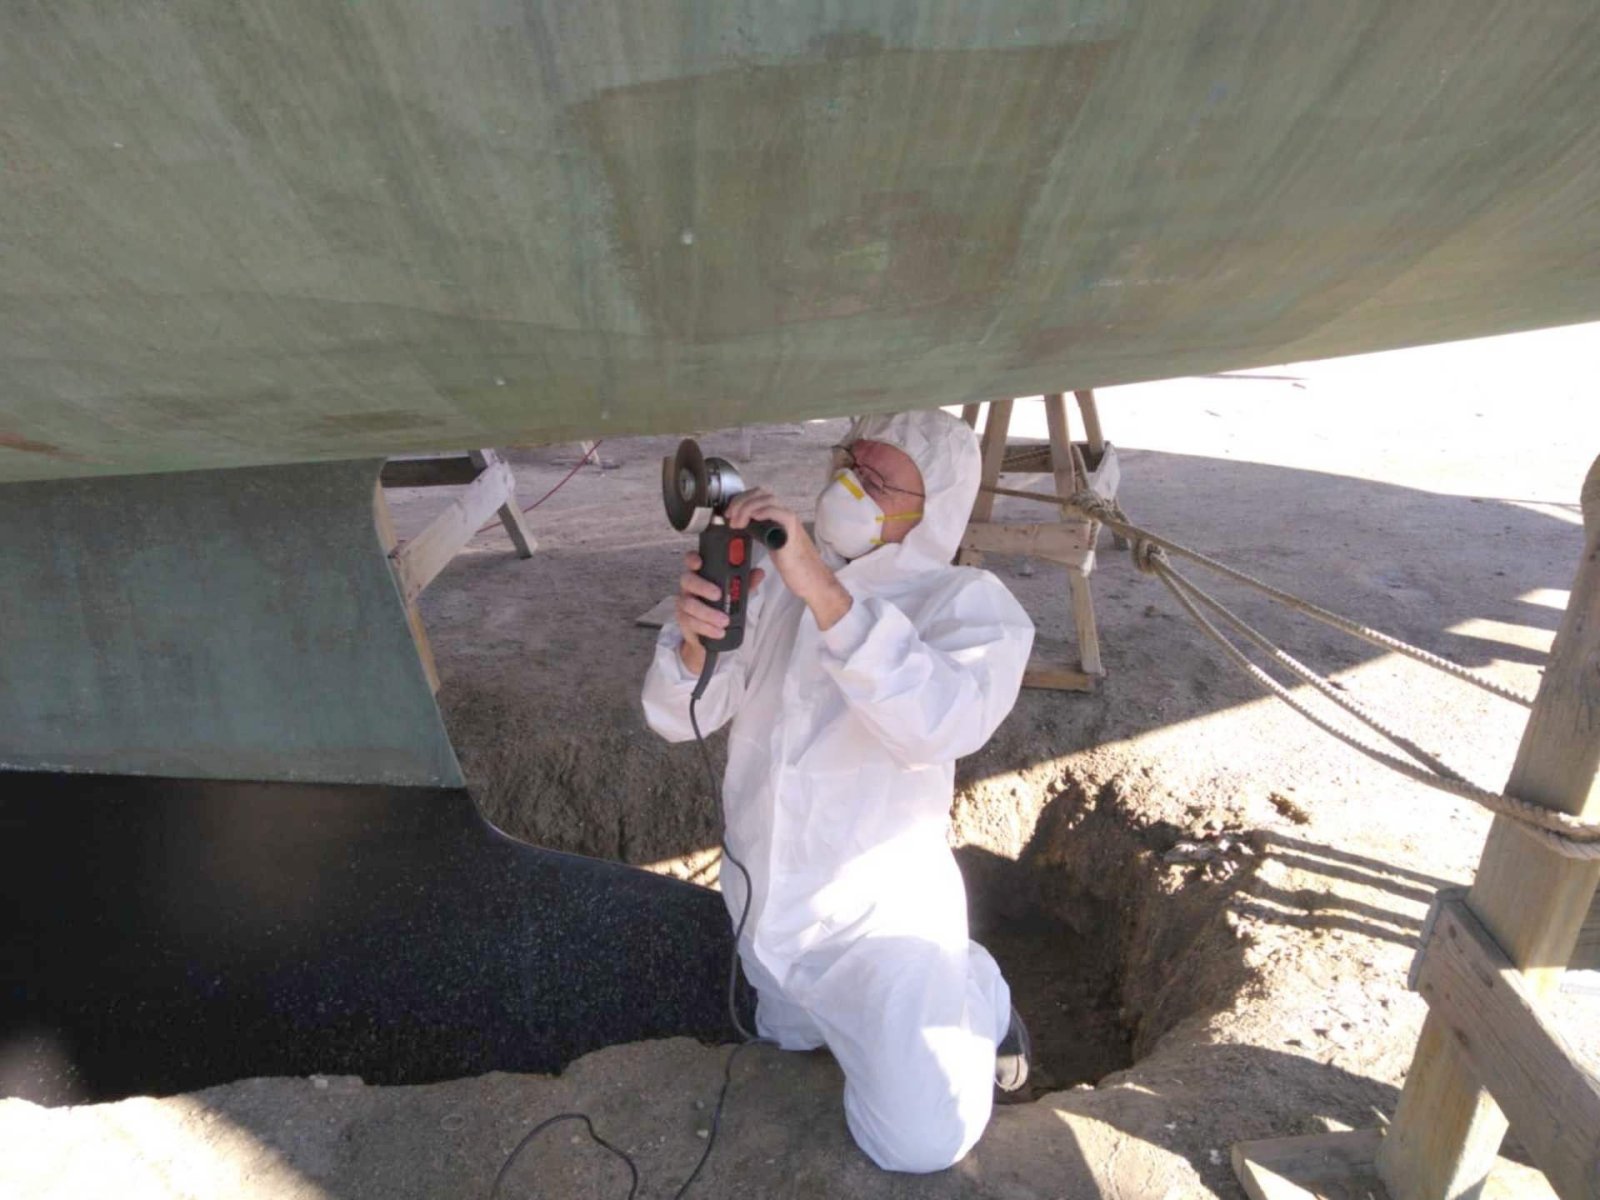
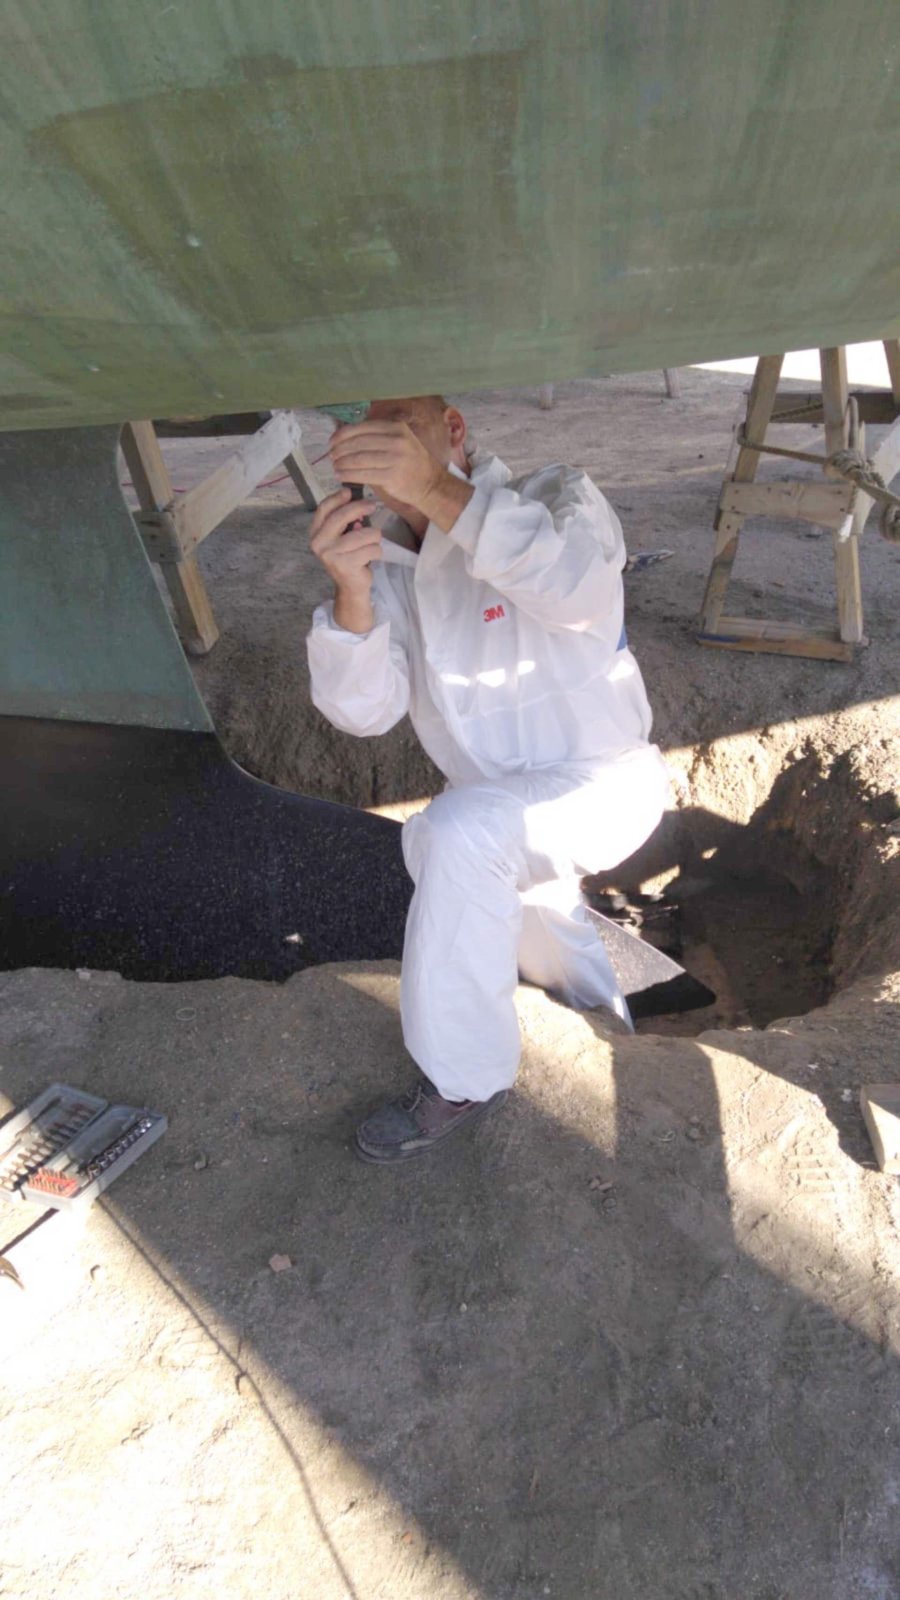
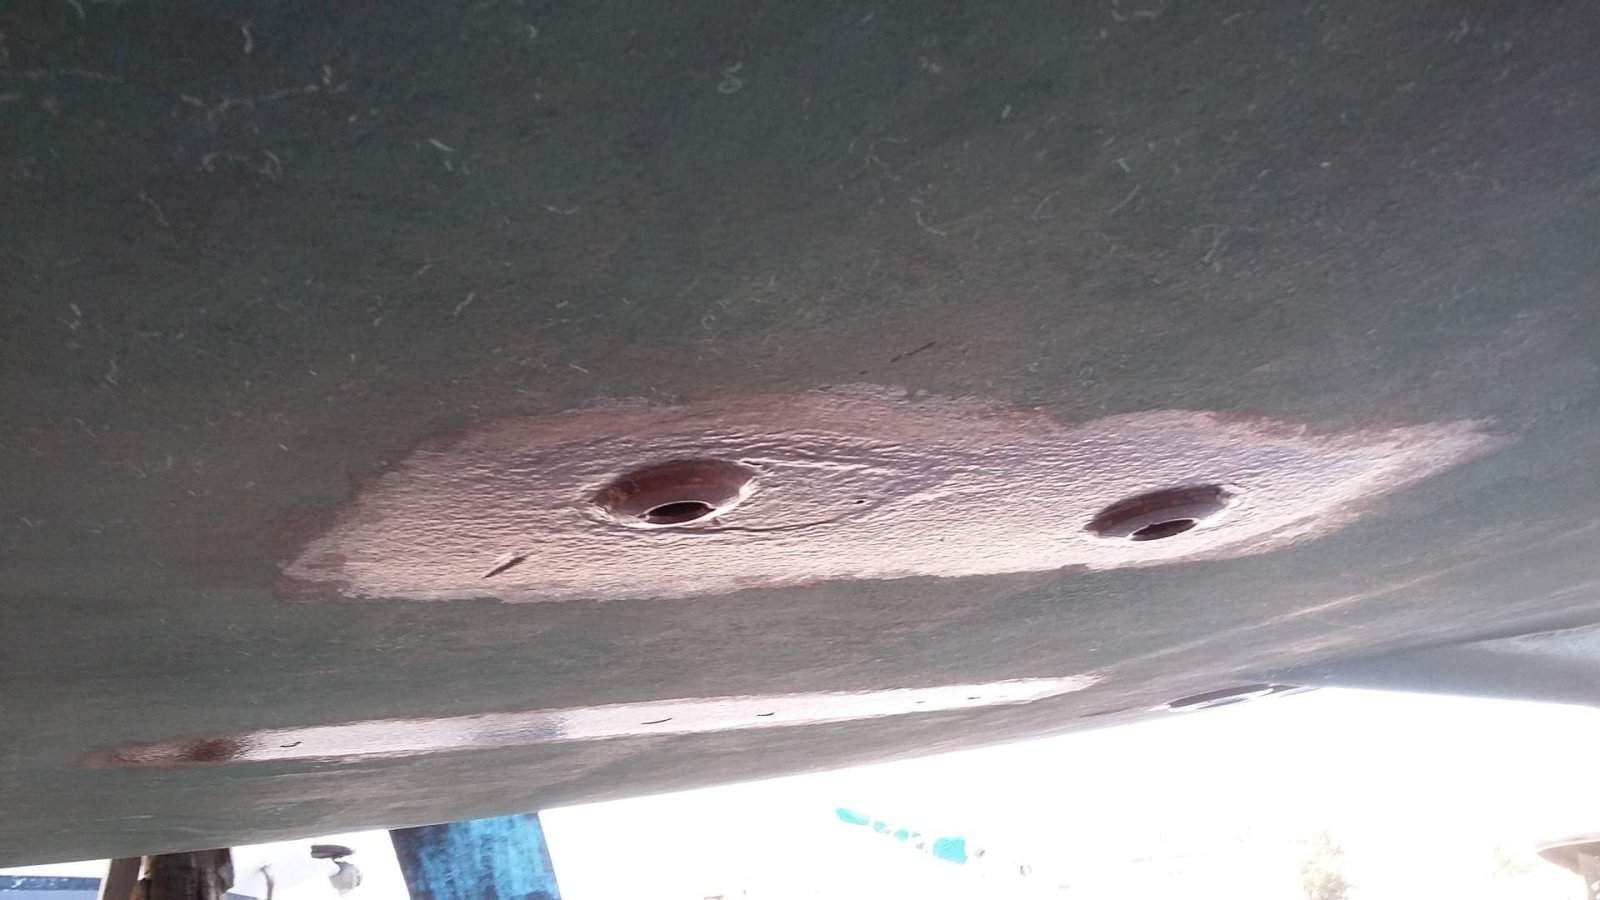
The ones that wouldn’t come undone (i.e. most of them) had to be removed by carefully cutting through the outer part of the thru-hull with an angle grinder, chiselling the pieces off and finally tapping the thru-hull into the boat.
I had never done this; it was a nerve wracking process at first and it remained that way. I quickly learnt that the instant the “dust” from the grinder became white you must stop immediately as you’re cutting into the fibreglass of the boat. The grinder is also heavy to hold up and can be difficult to control.
It was disappointing to find that a couple of the thru-hulls were actually in perfectly good condition – they must have been much higher quality metal – possibly “gun-metal”. They were still replaced though as the valves on them were very stiff.
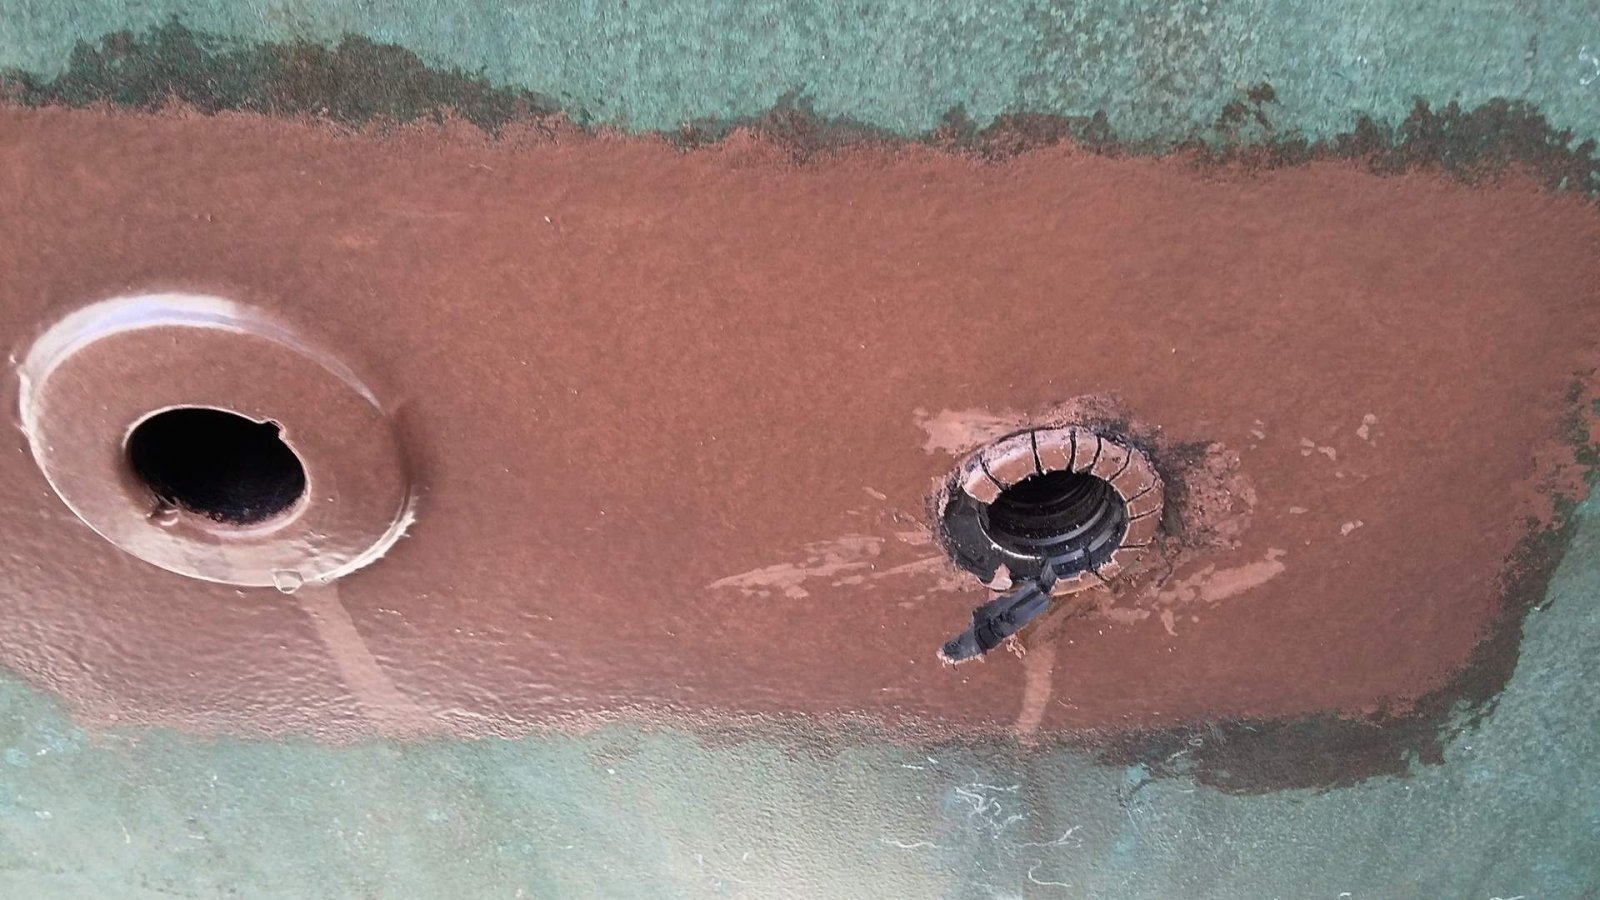
Once this was complete we cleaned up the holes as best we could and prepared for fitting the new thru-hulls. Finally doing something constructive and not destructive. This was a relatively straightforward operation although sometimes a little fiddly, in fact a couple were VERY fiddly and required much co-operation between the “workers”.
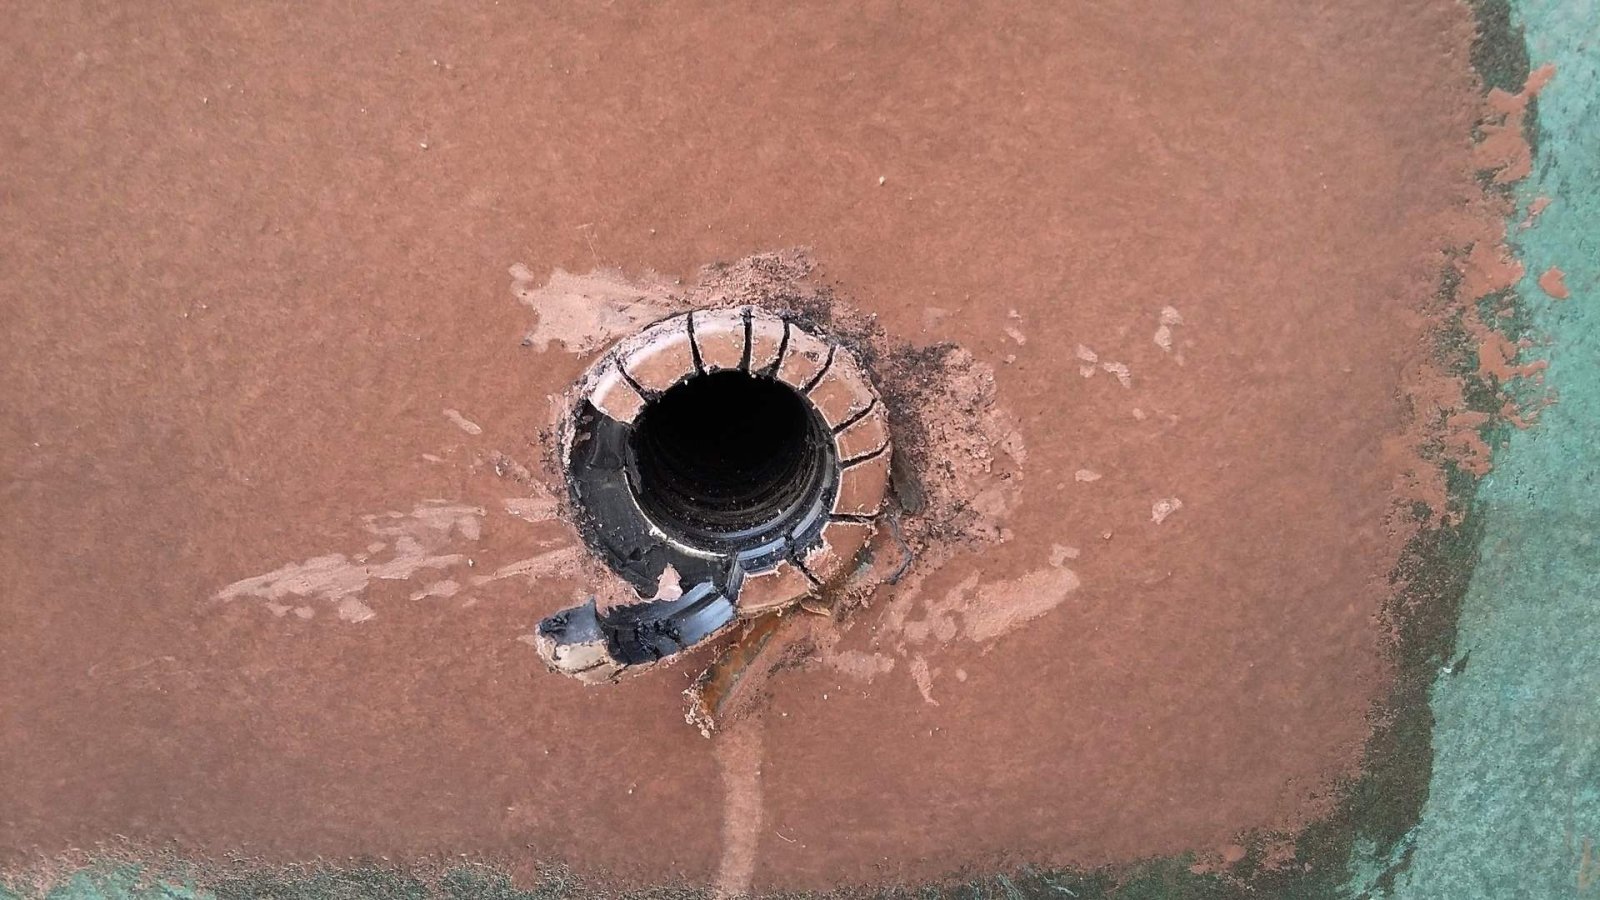
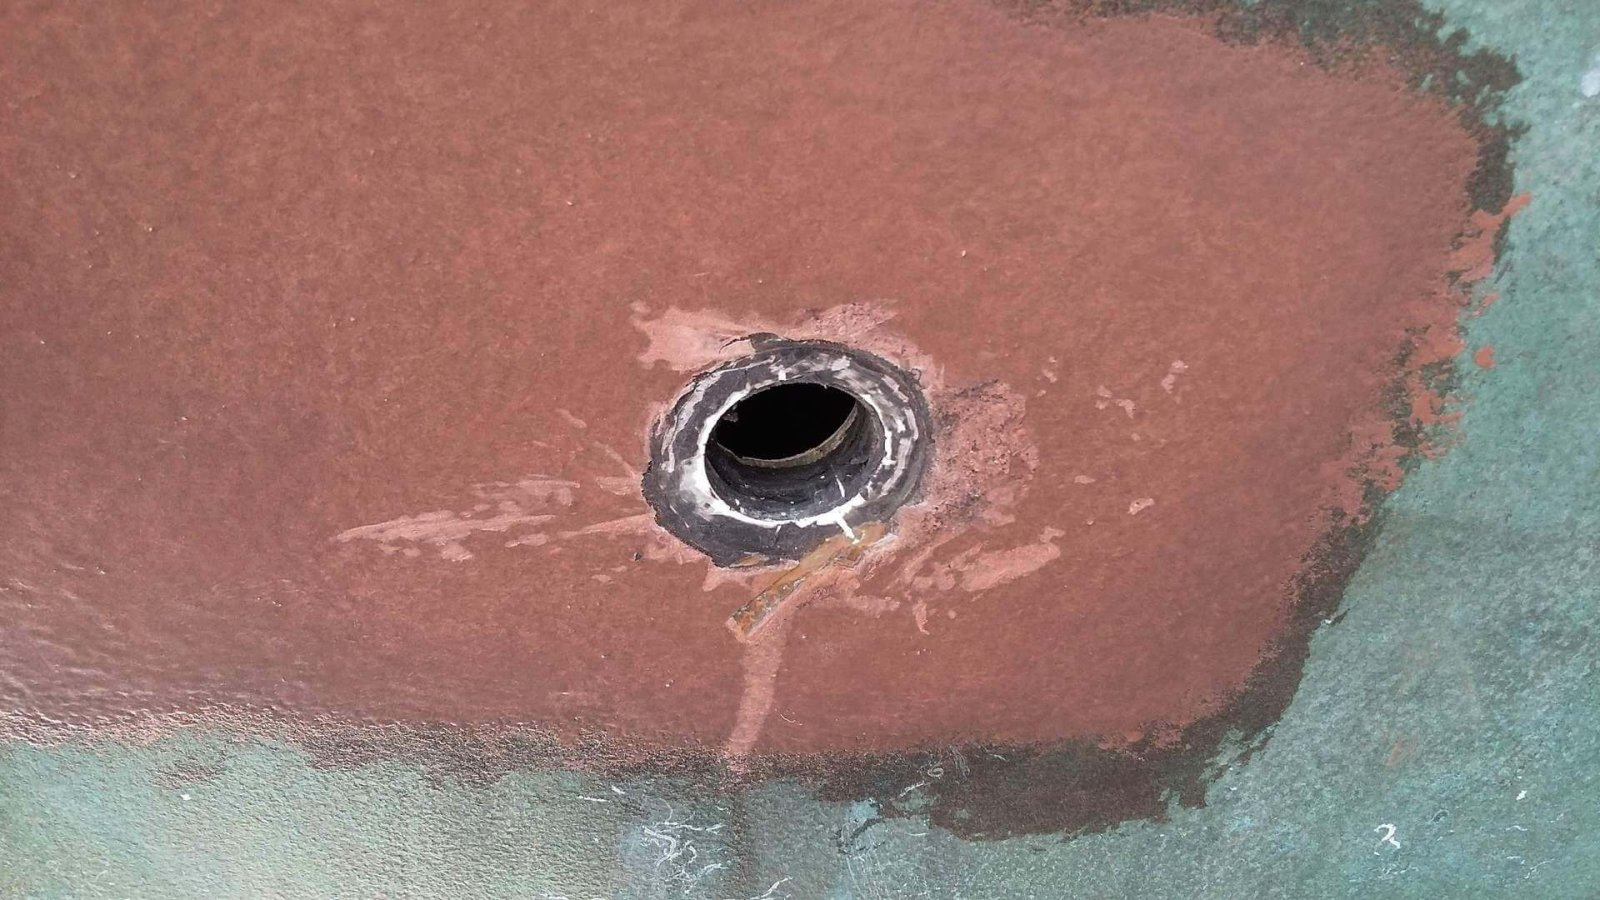
The new thru-hulls were sealed to the hull with a lot of “Sikaflex 291i” (which is a very sticky black marine adhesive for underwater use) and then a backing nut was tightened down on the inside of the boat. Anyone with previous experience of this will know that Sikaflex sticks to everything, not just the part you’re assembling. It’s also like handling a live grenade as the stuff just gets everywhere unless you are ultra-ultra careful. I defy anyone to use this stuff without making a mess.
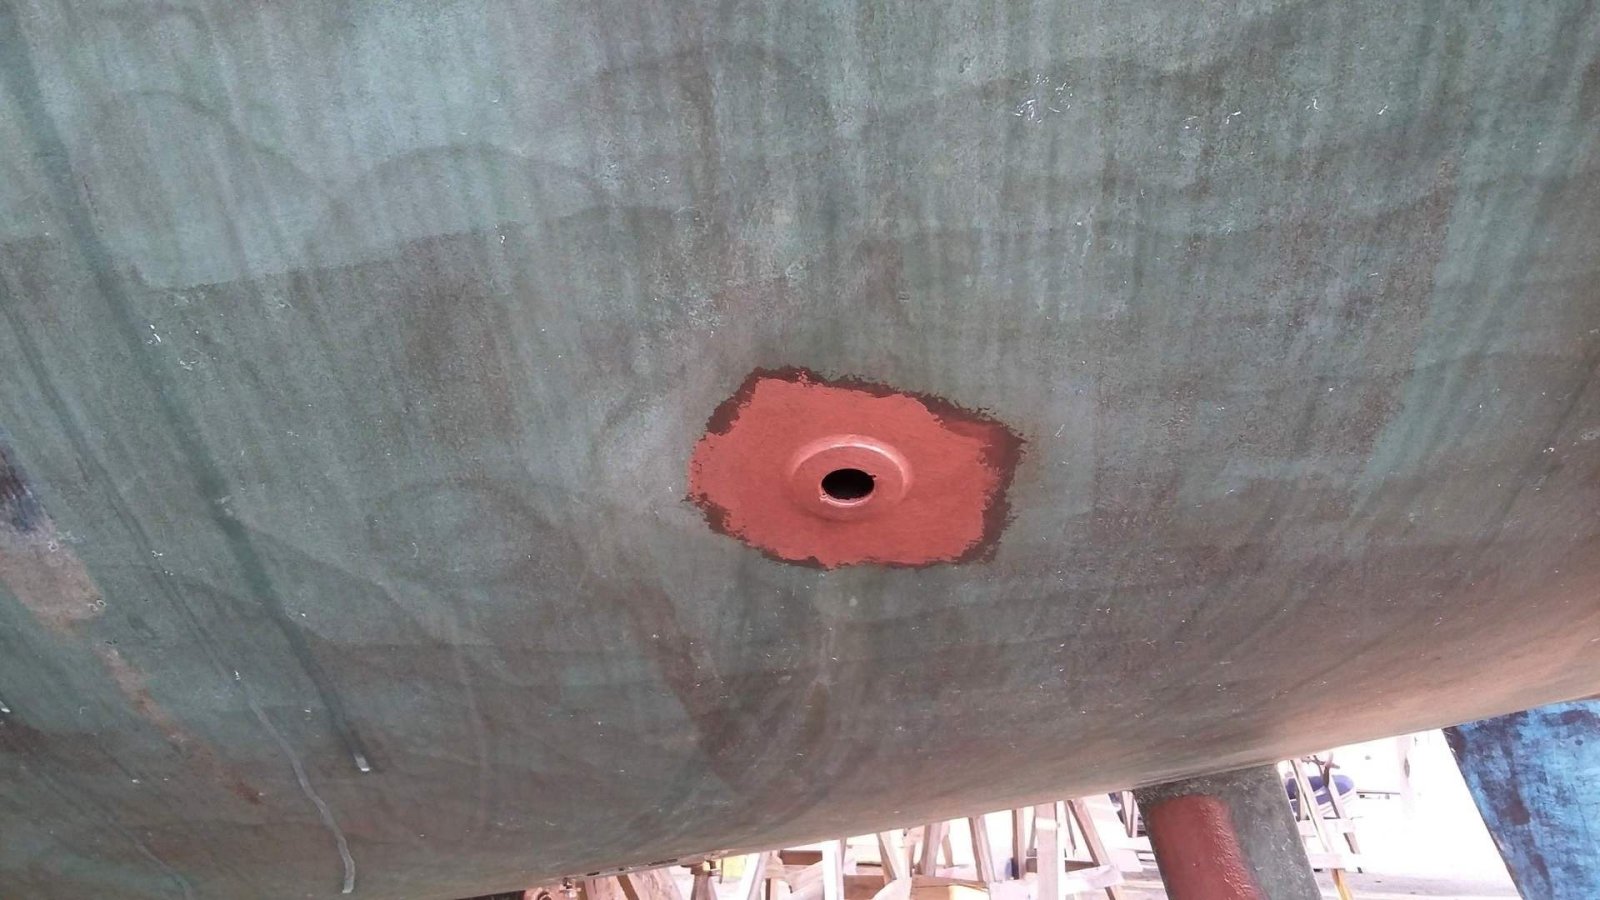
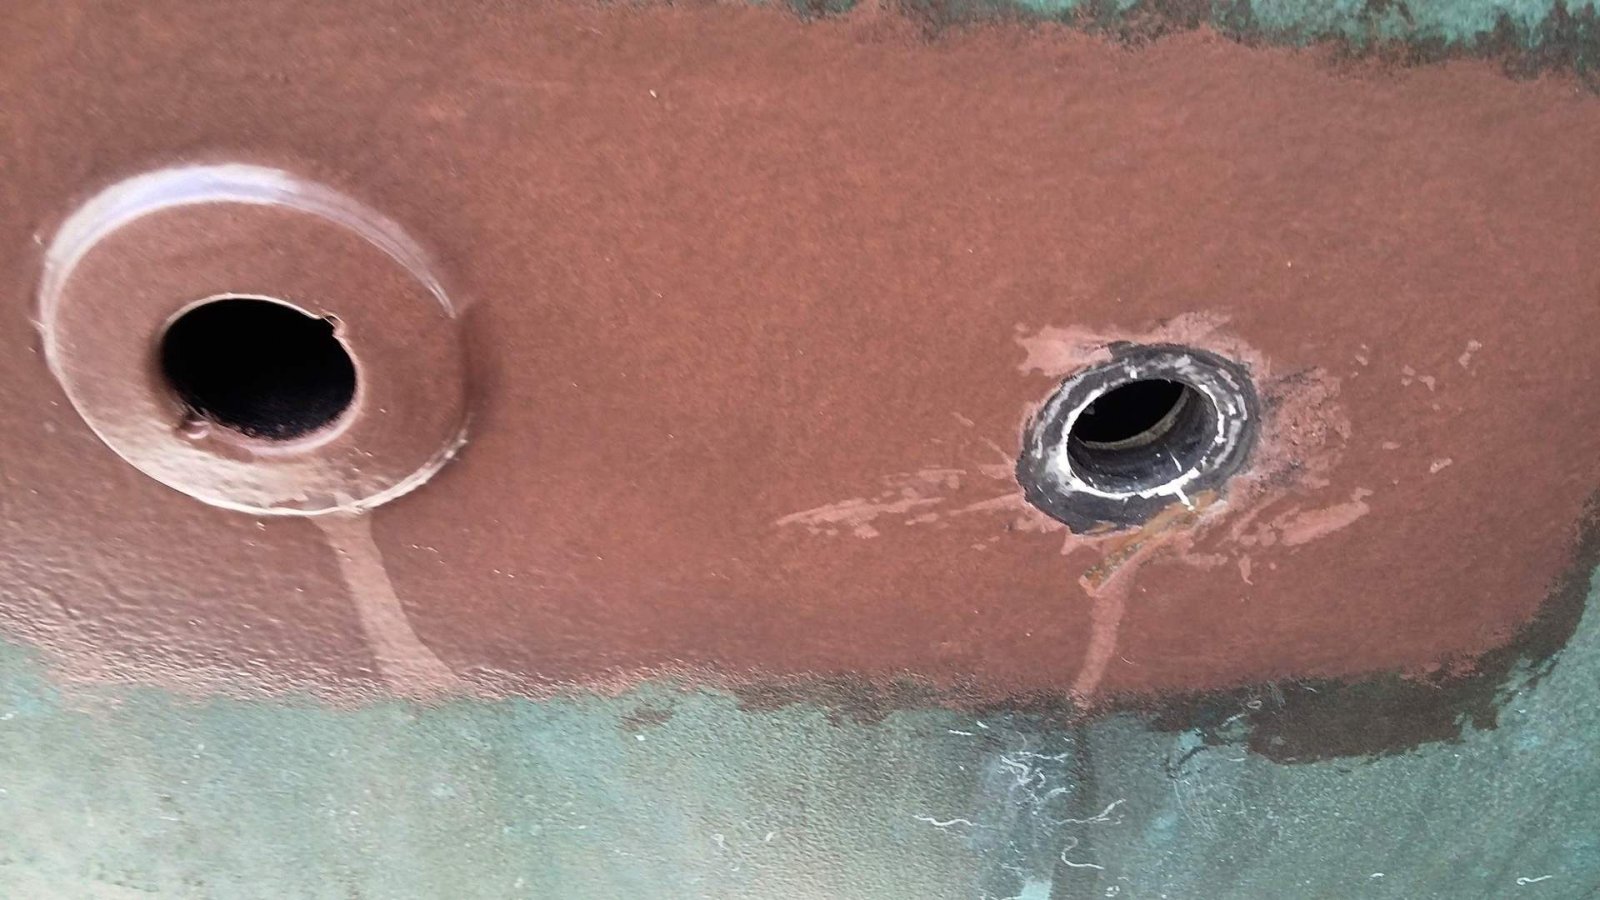
Unfortunately there are no pictures of the thru-hulls just after fitting. The last two there show them after they were painted with “CopperCoat” antifouling.
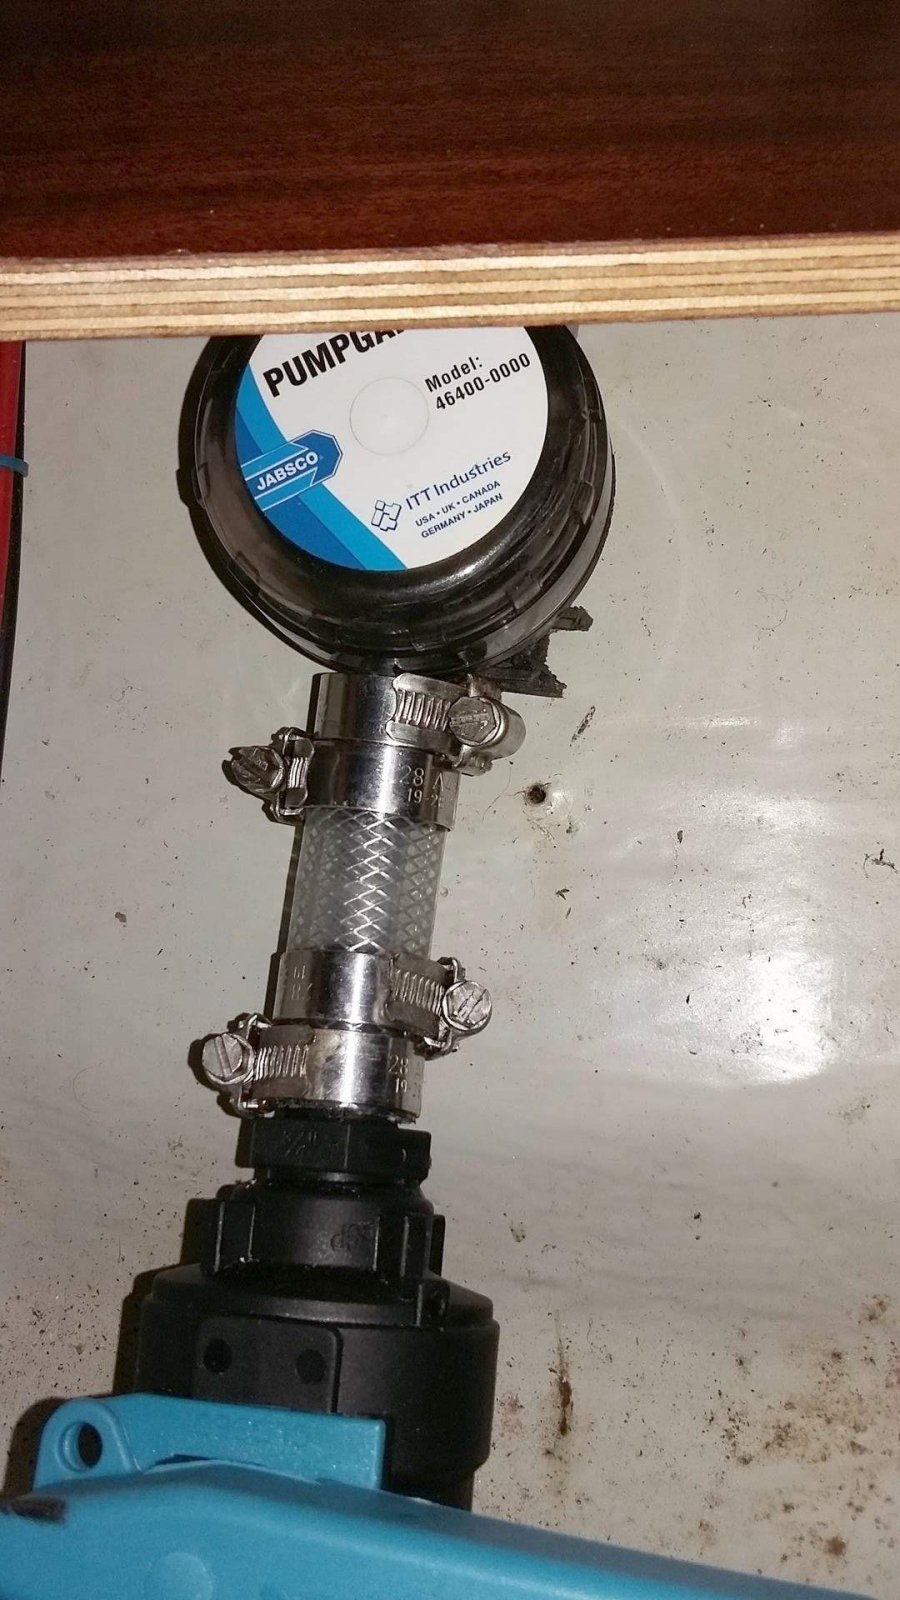
The problem that kept me awake all night was how to test that the new thru-hulls and valves would not leak? It’s not a good plan to leave that task until launch day as then it’s really too late
I was confident that the seal between the hull and the thru-hulls was good – I used loads of Sikaflex there. The joint between the thru-hull and the valve was my worry. I decided to put a length of plastic pipe on the “tail” of each valve, block the outside with a wooden plug in the hole (to make it water tight), pour water into the pipe and leave overnight to see if water came into the boat where the new fittings were.
This worked really well and I found out of 13 fittings, three leaked a little. Two I could fix really easily by removing the valve inside, resealing with even more Sikaflex (!!), then re-assembling it all.
The third one was a different matter. It had been the hardest one to get on as access to it was almost non-existant. I tried a couple of things, but in the end it had to be completely removed destroying the new fitting in the process.
Thankfully it was quite a simple process as it was only plastic. It was nice to find that the bond between the hull and the thru-fitting was perfect. The whole thing was re-assembled with a good amount of Sikaflex and the help of the yard manager, Chris.
Whilst chatting with Chris about the whole job he told me that they had done the same job on another boat and ended up having to redo at least half of the thru-hulls as the water wouldn’t drain through the new fittings. On closer inspection they found that during assembly the Sikaflex and managed to get inside the fittings and block the pipe/valve.
After hearing that I spent the rest of the day poking screwdrivers through all the fittings and valves to make sure I didn’t have the same problem – I didn’t. Thankfully. I then spent another day or so reconnecting all the hoses we’d previously removed from the old fittings. Some hoses were also replaced as they were obviously past their best and had gone very stiff.
A few days later was launch day. I didn’t sleep at all that night as, despite all my checking, I was worried that the new thru-hulls might still leak when the boat was in the water.
Chris, the ever helpful yard manager, was aware of this, and promised to keep the boat in the lift much longer than usual to allow me time to check properly.
That morning, when the crane came to collect the boat, my heart was hammering out of my chest. As the boat was lowered into the water I anxiously waited to jump aboard. The crane driver gave me the OK and I leapt aboard holding my best torch and my breath. I nervously checked all the valves (I even had a list to make I didn’t miss any). Then I checked again, and again.
Then I opened all the valves to let the water into the other side of the fittings and checked again, then again, and finally one more time – dry. Maybe one of the hose connections dripped a bit, but that was just a matter of tightening the pipe clip a little more.
I was overjoyed…what a relief!!
I went back outside to tell the crane driver all was OK, but he had finished for lunch. The boat sat safely in the sling, but fully immersed, for two more hours and I had plenty of time to check and check….and check. All still dry.
The rest of the afternoon was a pleasant anticlimax and involved collecting a new genoa from Chris and moving the boat back round to the marina.
Later I celebrated with a couple of G&T’s and a nice meal out. I slept really, really well that night…